
Tying One of my Go-To Patterns! Golden Olive Damsel Lure
History of the Damsel Pattern
As with most popular Fly Patterns, they usually evolve over time and the Damsel Nymph is no exception. I believe that the original design for this fly was developed in the early 1980’s by Randall Kaufmann.
Having studied the natural Damsel Fly Kaufmann realised that his imitation needed to have far more movement in order to improve its success and ability to entice trout. This he achieved by incorporating marabou in the pattern giving the tail far more ability to flex and move like the natural insect. It’s a great lure and due to its success is one of the most popular Stillwater and reservoir fly’s in Europe, UK and the US.
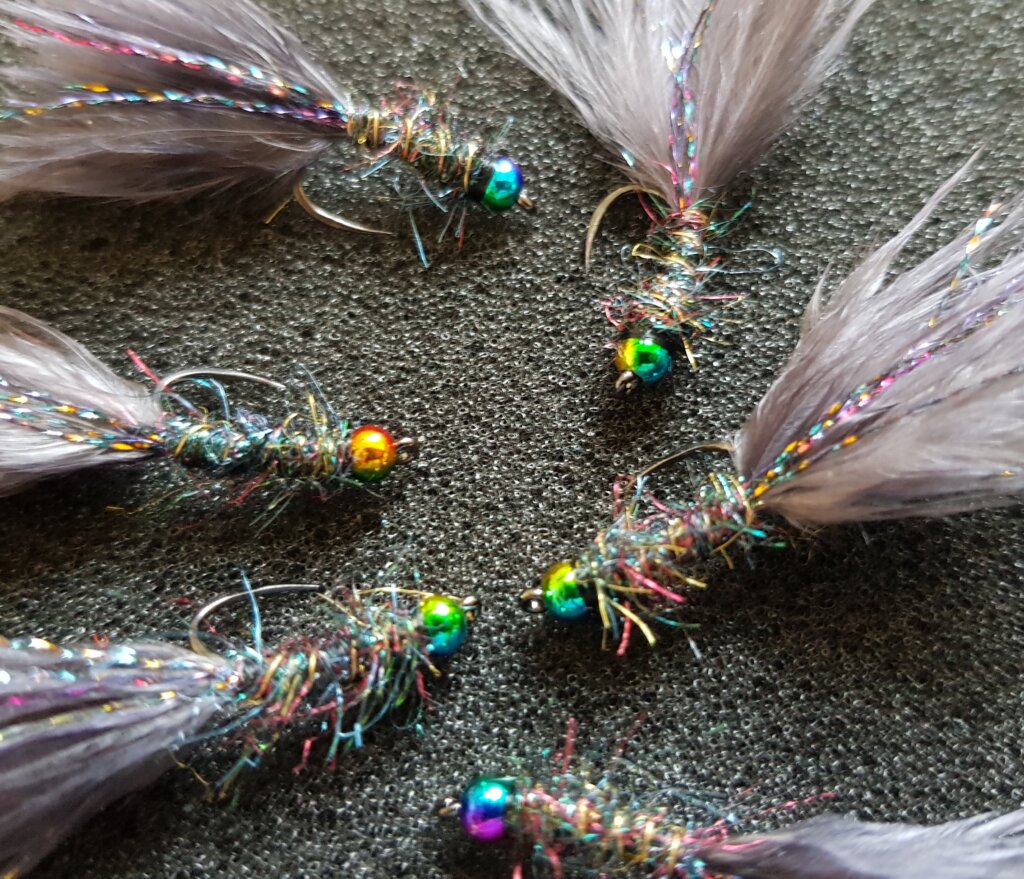
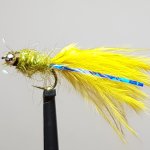
Fish to Fly’s Golden Olive Damsel Lure
Most Fly Tyre’s have their own take on it and this Bad Boy is my version!! Its one of my go to fly’s and is effective throughout the year, proving particularly deadly the spring and summer months. It’s a great lure and due to its success is one of the most popular Stillwater and reservoir fly’s in Europe, UK and the US.
The Olive Damsel is also a very adaptable fly with many versions of design for the different stages of the natural insects life cycle which can easily be tweaked or changed to suite your own fishing style or requirements by changing colours, ribs or bead heads.
It’s a fairly straightforward pattern to tie, So make yourself a brew (must be Yorkshire Tea) get your Fly Vice ready and lets tie this beauty!!
Tying Materials
Hook – Kamasan B170 or B175. Size 12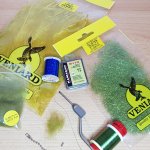
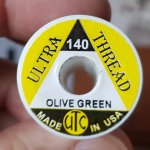
Thread – UTC. Olive Green 140 denier
Head/Eyes – Silver Bead Chain 2 mm
Body – Marabou Golden Olive
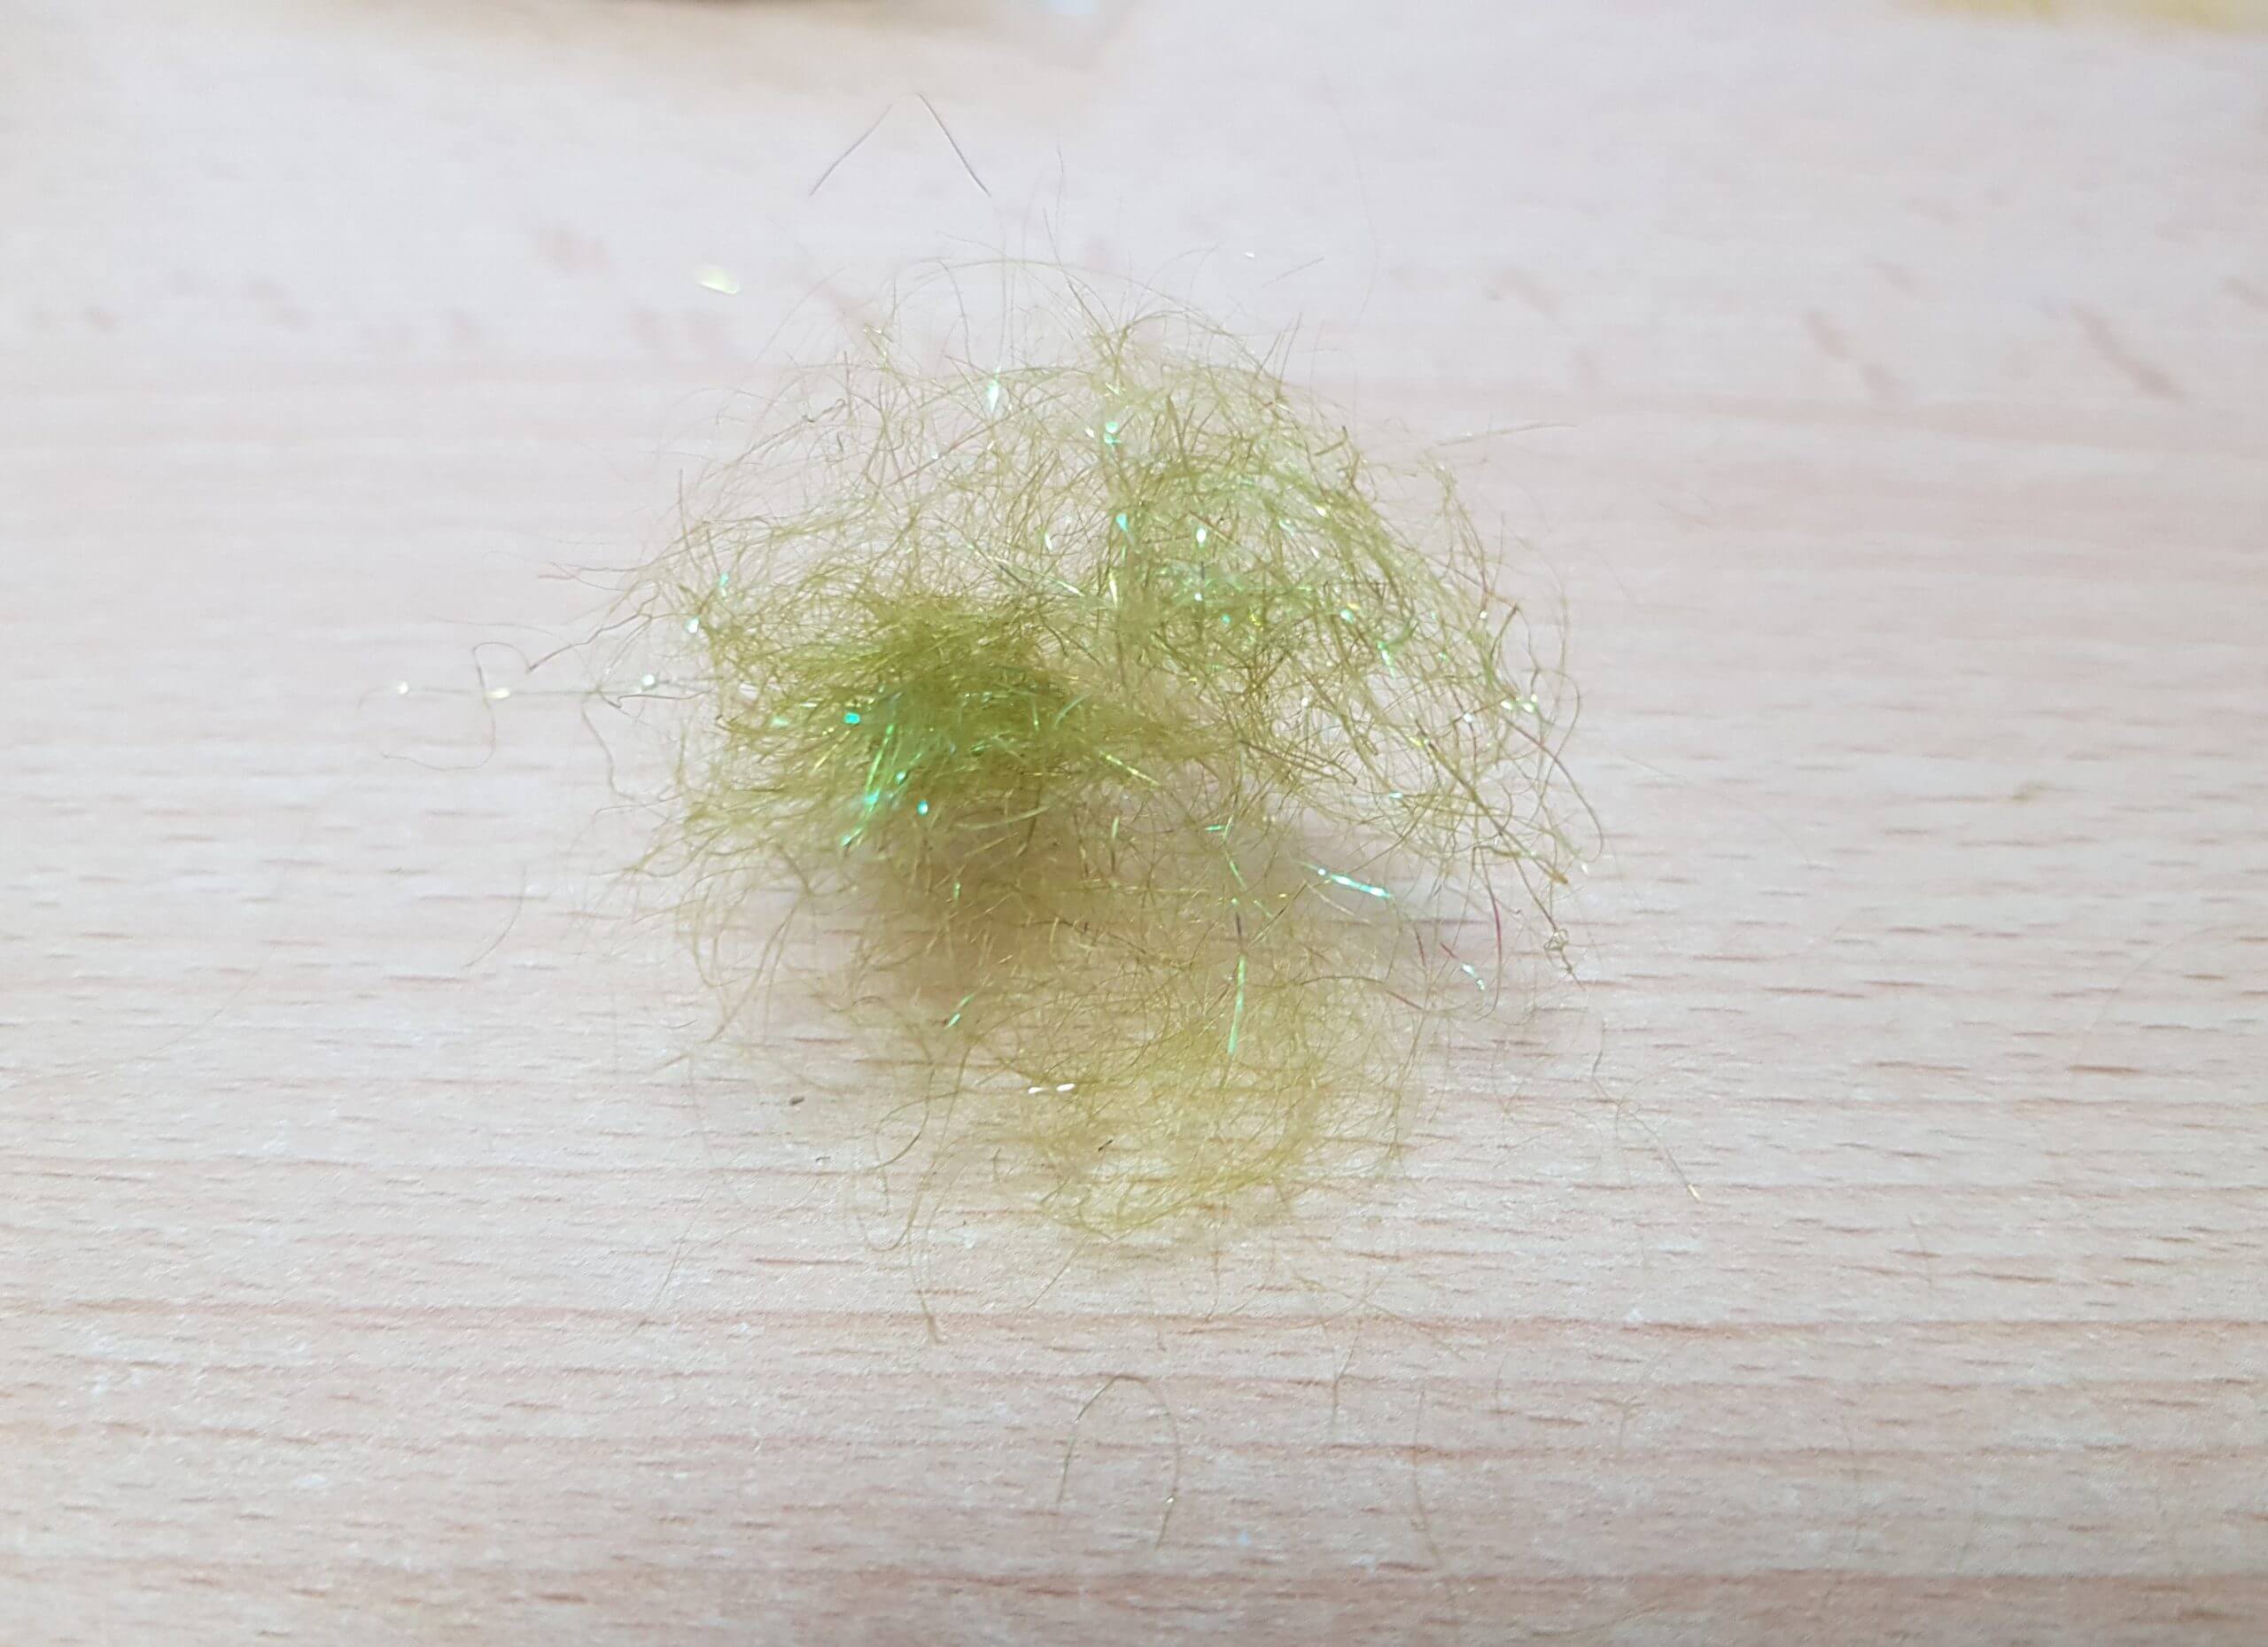
Thorax – Dubbing mix of Olive Green Seals Fur & Glister Golden Olive
Tail – Marabou Golden Olive & Holographic Blue Tinsel
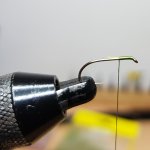
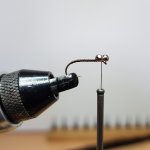
Step 1.
Place hook firmly in Tying Vice and cast on taking the thread in touching turns from close behind the eye down the shank stopping in-line with the barb. Then bring thread back up the hook shank stopping just short of the eye.
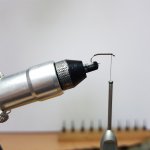
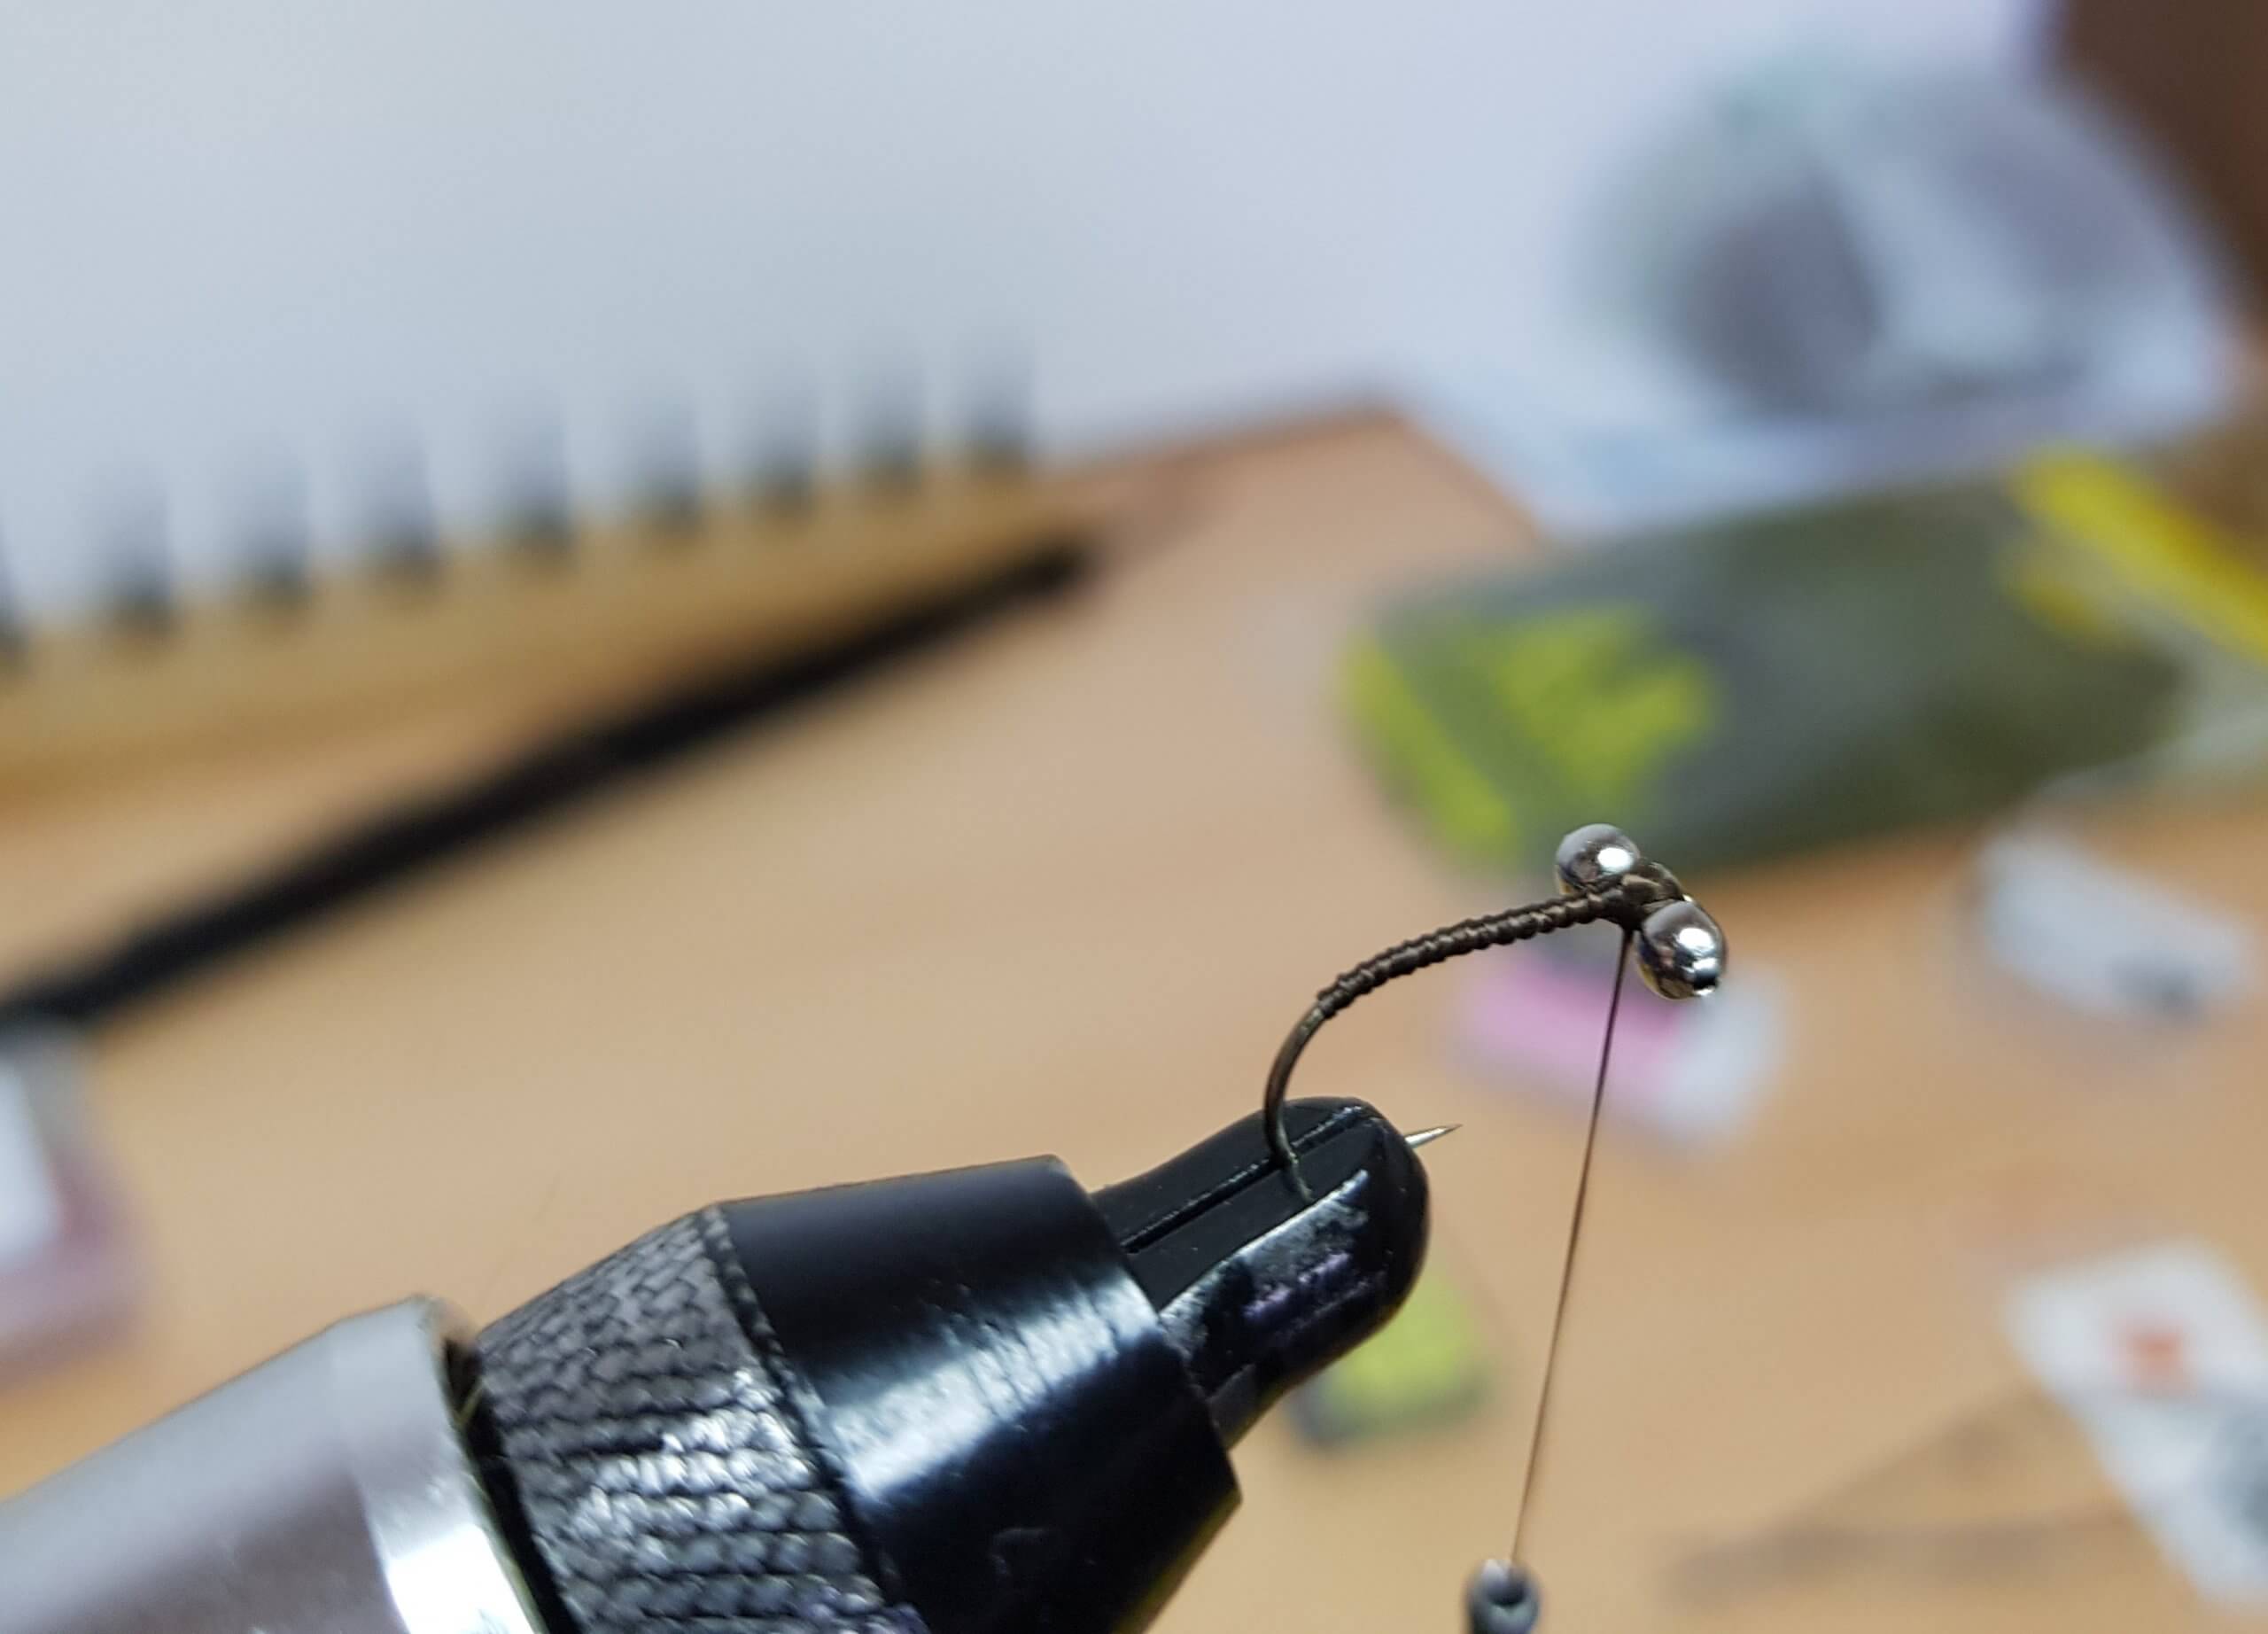
Step 2.
Now holding the bead chain eyes against the hook shank just behind the eye, tie a few figure of eight turns of thread over them just to secure and then carefully twist into position. Continue to use the figure of eight over and under the hook shank firmly securing eyes into position. This technique also helps fill in the space between the eyes to form a nice head.
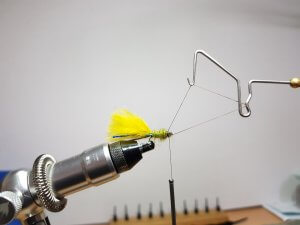
Step 3.
Tear off a nice bunch of marabou from one of the feathers; snip off the stem end stubble to tidy up. Now twist the bunch end a little and catch on to the top of the hook just behind the bead chain eyes. Using fingers ensure marabou is sitting nicely straight, twist to reposition if necessary. Holding firmly in place, take the thread down the shank tying marabou tightly in place, stopping in-line with the barb.
Step 4.
Take a length of the Blue Tinsel approx. 2 ½ inches and cut in half. Carefully holding one piece either side of the body tie-in at the tail and snip off any excess material.
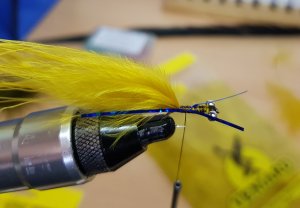
Step 5.
Take a small pinch from the packets of the olive seals fur and the glister dubbing (you don’t need much) and mix together. Now moisten thumb and index finger and twist clockwise tightly moving down the tying tread forming a noodle shape approx. 2 inches long. Then in touching turns starting at the tail work your way back up the hook shank to the bead chain eyes. Give a few extra turns behind the eyes to form a head, so the body tapers.
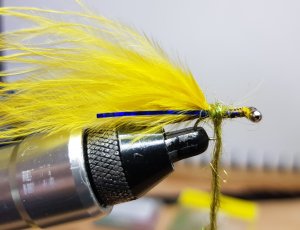
*For tail length see Gra’s tying tip no.1
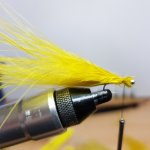
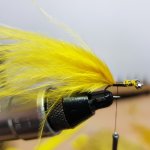
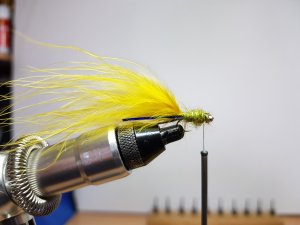
Step 6.
Pinch out the tail to the required length, it should be in line with the blue tinsel. The final step while the thread is behind the bead chain eyes is to tie everything off good and tight using a whip finisher. I usually do three of four turns around the hook, pull tight and snip off the thread.

Job done!! Now get fishing.
Gra’s tying tip no.1 –Don’t make the tail too long! I usually make mine 1½ times the hook length.
Gra’s tying tip no.2 – As a general rule my view on Fly Patterns is fairly fluid. There are some Fly Tyre’s who believe that Fly Patterns should be followed to the letter, my view is a little more relaxed! by that I mean that if I don’t have a certain material required for the pattern I’m tying then I will substitute with the nearest material I have available.
Sometimes slight tweaks to a pattern can make it even more successful. Experiment with it a little, make it your own. Most importantly enjoy tying it and have confidence that it will catch fish.
How I fish this Lure
It’s not just how you ty the fly it’s also how you fish it! The Damsel Fly is a great all-rounder. I usually fish this lure as a point fly (but have had success when used as a first dropper) on a floating line, sometimes with a sink-tip using a slow steady figure or eight retrieve with a few quick pulls included, these usually provoke any following trout, inducing a strong solid take!
When fishing this Fly Pattern if you are getting quick short pulls which are not connecting, then reducing the tail length should help counteract it. Remember to always tear off the excess tail material with your fingers, if you snip it with scissors it won’t look natural or swim correctly!
Don’t forget, Check Back Soon for my next Blog and How to Guides
Questions?? Then get in touch!! [email protected]
Fly Fish More and Work Less!
Tight Lines from Gra at fishtofly.com